


 English
 Español
 русский

News
Home / News / Industry News / How to Tarp a Leaky Roof Properly: Sizing, Materials and Wind-Safe Steps
Content
If water is running down a ceiling right now, here is the short answer: drape the tarp over the ridge, let it hang three to four feet past the leak on every side, and fasten it with wooden battens screwed into the roof framing. Do not rely on bricks, on rope threaded through grommets alone, or on a tarp that barely covers the water stain.
That single pattern solves the large majority of emergency leaks. Water rarely falls straight through the hole you can see. Driven by wind and gravity, it runs sideways along rafters and sheathing, finds a seam, and shows up two feet away from the actual breach. That is why overhang matters more than the size of the hole.
Four decisions determine whether the tarp is still on the roof tomorrow morning:
The rest of this guide walks through measurements, hardware, step-by-step installation, fabric selection, and the inspection habits that keep a temporary cover doing its job for weeks or months rather than one afternoon.
The tarp is the second problem. The first is getting on and off the roof without creating a bigger claim. Before touching a ladder, cut power to any circuit serving a room where water is entering, because a wet ceiling and a live fixture are a genuinely dangerous combination. Then look for a bulge in the drywall or a sagging section of ceiling board. Painted drywall can hold several gallons before it fails, and a sagging area is an instruction to move furniture, buckets and people out from underneath.
Wind is the next gate. Roofing crews commonly stop tarp and sheet work when sustained wind climbs past roughly 20 mph (32 km/h), because a fabric panel that size catches air faster than a person can control it. Check the gust forecast, not the average, and remember that gusts on a ridge can run well above the number reported for ground level.
A few practical points that experienced installers repeat constantly:
Measure two distances: the width of the roof section you are covering, and the distance from the leak up to the ridge. The upslope measurement drives everything, because water running down the slope must be intercepted above the damage, not beside it. A working rule used by most emergency repair crews is a minimum of four feet above the leak, three feet to each side, and enough length to wrap the ridge if the leak sits anywhere near the top third of the slope.
| Roof section width | Leak position | Suggested tarp | Coverage gained |
|---|---|---|---|
| Up to 10 ft | Mid-slope | 12 x 16 ft | 3 ft each side, ridge wrap |
| 12 to 16 ft | Upper third | 20 x 30 ft | Full ridge wrap on both slopes |
| 18 to 24 ft | Any location | 30 x 40 ft, or two 20 x 30 ft overlapped 3 ft | Covers valley transitions |
| Hip or corner | Near the hip line | 16 x 20 ft | Can fold around the hip corner |
Steep pitches need extra length rather than extra width. On a 12/12 roof, the surface distance from eave to ridge is about 1.41 times the horizontal run, so a tarp sized from a floor plan will come up short. Add roughly 25 percent to the slope-direction dimension on anything steeper than 8/12.
Standard retail sizes cover most houses, but they do not always land where you need them. When a roof section is an odd width, coated fabric covers can be produced in specific lengths and widths rather than squeezed out of the nearest stock size, which removes the patched-together overlap that becomes the first leak point in a storm.
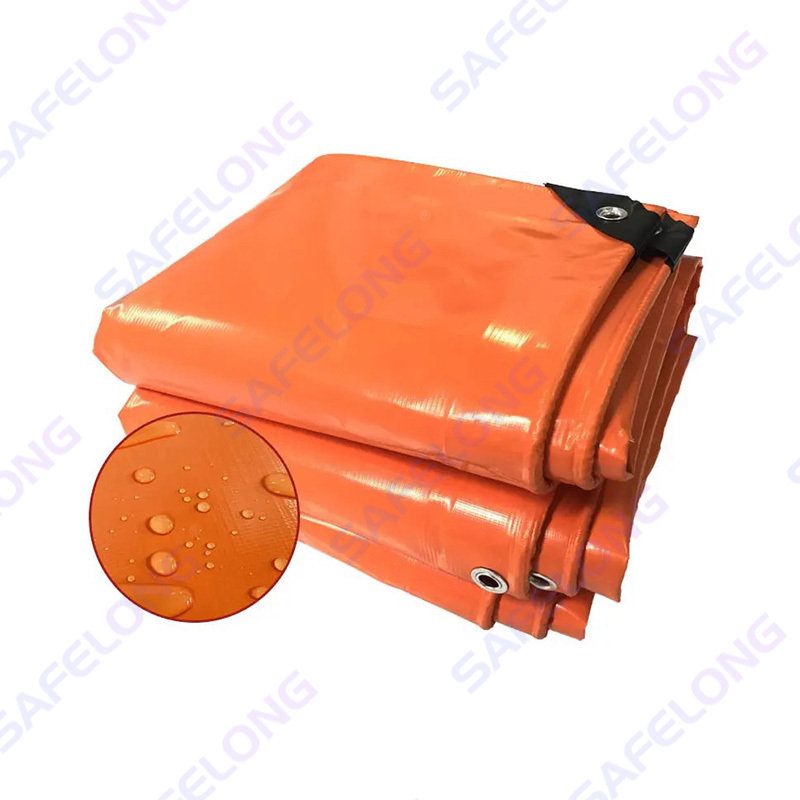 Film TarpaulinThe film tarpaulin cover is made by laminating PVC film to lightweight polyester base fabric through high-temperature calendering process to form a smooth waterproof l...View Product →
Grommets are for light duty. In wind, a grommet pulls a small cone of fabric and then tears out, usually within the first hour of gusting. The dependable method is to trap the tarp edge between a length of lumber and the roof surface, then fasten through both. That spreads the load across the full length of the batten instead of one small hole.
A practical kit for a single-slope emergency cover:
Space fasteners every 12 to 18 inches along a batten, and place battens horizontally across the slope near the top, middle and bottom of the covered area. More fasteners at the top edge matter most, because that is where wind gets under the fabric first. If the deck is rotted or spongy, move the screw line to the nearest rafter and expect to use longer fasteners.
Work from a stable position, keep the tarp folded until it is on the roof, and let gravity help you unfold downhill.
The tarp you buy for one night is not the tarp you want for a roof that will stay covered for months. Ultraviolet light, temperature cycling and abrasion against shingle granules destroy thin film quickly, and the failure is usually sudden: a small tear at a fastener becomes a flapping panel in a single afternoon.
| Fabric type | Typical outdoor life | Wind behavior | Best use |
|---|---|---|---|
| Thin polyethylene film | Weeks | Stretches and shreds at fasteners | Same-night protection only |
| Woven polyethylene with lamination | One to three months | Moderate, holds with battens | Short seasonal cover |
| PVC-coated woven fabric, knife-coated construction | Six months to over a year | High tear strength, resists abrasion | Weeks of coverage on occupied buildings |
| Polyether-based TPU coated fabric | Extended service in damp climates | Flexible in cold, resists hydrolysis | Coastal and long-duration exposure |
The heavier coated options earn their cost in one specific way: the coating carries load between stitches and fastener holes, so the fabric does not unravel from a single tear. On a roof where crews will walk across the cover, or where branches scrape the surface, that abrasion resistance is the difference between one installation and three.
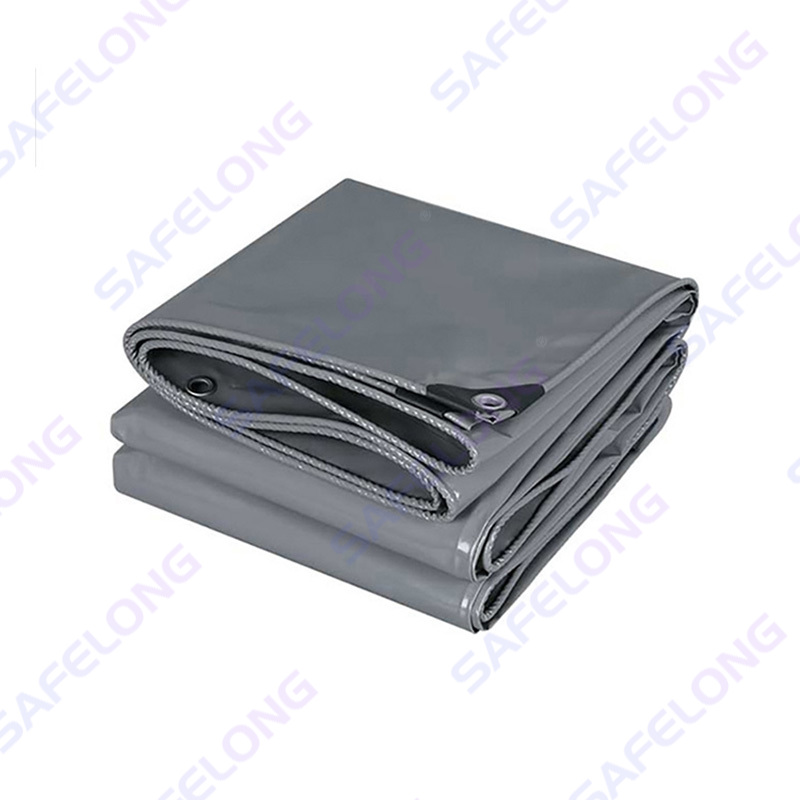 Knife-scraped tarpaulinThe knife-scraped tarpaulin cover adopts a multi-layer scraping process to scrape the PVC paste layer by layer on the surface of the high-strength base fabric, and the...View Product →
Coating weight, yarn count and grams per square meter are the three numbers that decide how a cover performs, and they are frequently listed in ways that are hard to compare between suppliers. If you want the full breakdown of how those figures translate into strength, weather resistance and price, this guide to PVC tarpaulin covers explains the trade-offs in plain terms.
Tarps rarely fail because of rain. They fail because a loose edge lifts, the panel fills with air, and the resulting pull is far greater than the weight holding it down. Once the fabric starts oscillating, fastener holes enlarge with every cycle, and the cover works itself free from the top down.
Roof surfaces are designed to shed water with a minimum slope, commonly about a quarter inch per foot on low-slope sections. A tarp laid flat across a valley or between two battens can create a low spot that holds standing water. That water adds hundreds of pounds of load, stretches the fabric, and eventually seeps through at a fastener.
Two habits prevent ponding. First, keep the tarp tight enough that no fold can hold a puddle, which in practice means checking tension after the first rain and tightening any batten that has loosened. Second, direct the low edge toward a gutter or open air, and never let a tarp edge terminate in a valley where water already concentrates. If the shape of the roof forces a low point, let a small deliberate opening at that spot drain rather than letting water spread sideways under the cover.
The tarp slows the water, it does not always stop it. Expect a slow seep to continue for a day or two while the structure dries, and plan for that instead of being surprised by it.
Several popular quick fixes cost more in the end than doing nothing. The pattern behind all of them is the same: they either trap moisture or create new holes in a surface that was never meant to accept them.
A properly installed emergency cover is realistic for four to twelve weeks on most homes, and often longer with a heavier coated fabric. The limiting factors are predictable: ultraviolet exposure breaks down the polymer surface, temperature cycling makes the material stiff and brittle, and abrasion against shingle granules wears through the underside wherever the cover touches down.
Inspection is what turns weeks into months. Walk the perimeter every two to three weeks and check four things: fastener heads that have started to lift, corners that have lost tension, any standing water on the surface, and the underside where the fabric rubs the roof. Retighten, add a screw, or reset a batten before a small problem becomes a lost cover.
Humidity is the variable most people overlook. In coastal air, on a shaded roof, or during a long rainy season, standard polyester-based coatings can degrade through hydrolysis and turn tacky or weak. Polyether-based thermoplastic polyurethane coatings are formulated specifically for that environment, which matters when the cover has to stay in place for an extended period rather than a single weekend.
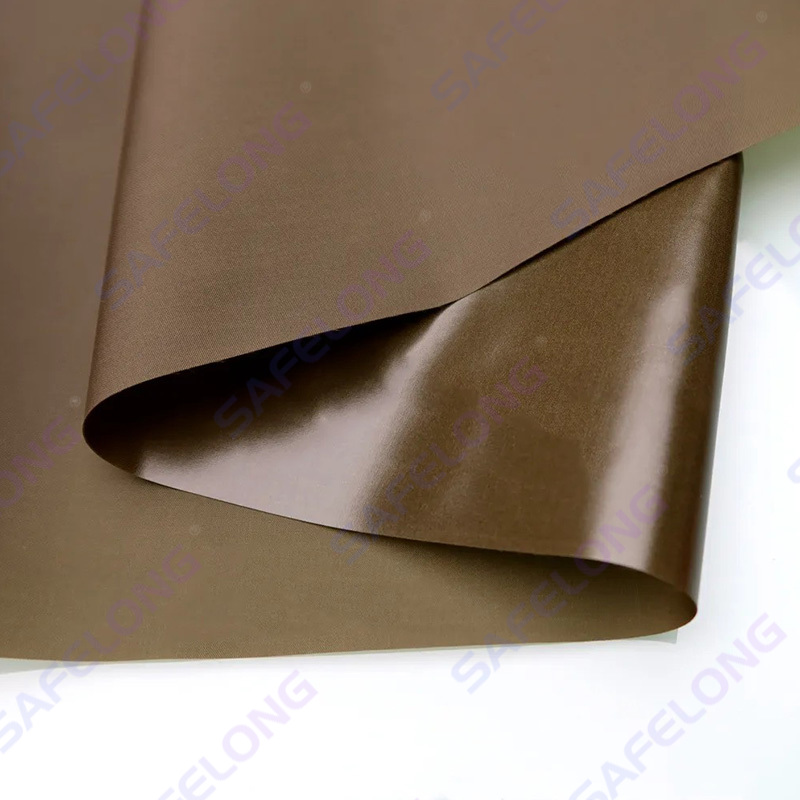 Polyether Thermoplastic PolyurethanePolyether TPU waterproof fabrics are made of polyether polyols such as polytetramethylene ether glycol (PTMEG) or polyethylene glycol (PEG) as soft segments through th...View Product →
On a low-slope roof with a tarp up to about 12 x 16 feet, yes, if the wind is calm and the ladder setup is solid. Above that size, or on anything steeper than 6/12 pitch, a second person on the ground handling rope and passing materials makes the job both faster and considerably safer. Large panels act like sails the moment they open.
Plan for at least four feet above the leak up the slope, three feet to each side, and enough length to wrap the ridge by about two feet on the far side when the leak sits in the upper part of the roof. Water travels sideways along rafters, so a tight fit around the visible stain usually misses the actual entry point.
Fasteners should pass through a batten and the tarp, then into solid decking or a rafter, rather than being driven randomly into the shingle field. Nailing through finished roofing creates new leak paths. Trapping the fabric between lumber and the roof surface spreads the load and leaves a smaller repair footprint once the weather clears.
As the primary anchor, no. Loose weights shift, slide on wet shingles and can be lifted by gusts. They work as secondary ballast at the corners, but the structural hold should come from battens and screws, or from a rope-over pattern tied to solid anchors on both sides of the roof.
Thin polyethylene film may not last a week in direct summer sun. Woven polyethylene covers typically manage one to three months. Heavier coated fabrics, such as PVC-coated woven material or polyether-based TPU coated fabric, commonly stay serviceable for six months or more with periodic tightening, especially when the cover is inspected every few weeks.
It will stop the majority of the water in most cases, but not always all of it. Wind-driven rain can still reach an opening from underneath, and water already inside the assembly continues to migrate for a day or two. Treat the tarp as a control measure that limits damage until a permanent repair is possible, and keep buckets in place for the first 48 hours.
The cover should run around these penetrations, not over them, since draping fabric across a chimney or open vent traps water and can direct it inside. Where a projection sits in the middle of the damaged area, cut and fold the tarp around it and fasten both sides separately, or cover only the unobstructed slope and handle the remaining section with a smaller piece.
A coated woven fabric with a substantial coating weight outperforms any film product over that timeframe. The woven base carries the load, and the coating provides the waterproof layer, UV stability and resistance to abrasion from shingle granules. In damp or coastal conditions, a polyether-based TPU coating is the more durable option because it resists hydrolysis, while PVC-coated fabrics remain the workhorse for general site and building protection.
A roof tarp that works is a roof tarp that was measured, oversize and fastened to something solid. Extend the cover well past the leak in every direction, take it over the ridge whenever the geometry allows, and lock it down with battens rather than weights. Keep the surface tight so water drains instead of pooling, and look at the installation every few weeks so a loosened screw does not become a missing cover.
Do those five things and a temporary cover will protect the structure long enough for a proper repair, without turning one leak into a ceiling, insulation and flooring replacement.
If you have any questions, please fill out the contact form at the bottom of the page and contact us.
You agree to Sulong Terms and Privacy Policy.

No.9 Filter Material Industry Park, Funing, China (Factory)
Unit 2, 15#-405, Kuanglu Community, Gulou District, Nanjing, China (Office)

+86 15724842588

+86-0515-68589566

+86-0515-68589566

info@safelong.net

