


 English
  Español
 русский
News
Home / News / Industry News / How to Add Grommets to a Tarp: Complete DIY Guide with Tools, Steps & Repair Tips
Content
On our production floor at Jiangsu Sulong Eco-Technologies, we set grommets into PVC tarpaulins almost every day, and the most frequent question we hear from customers is not about leaks—it is about moving or replacing grommets without damaging the cover. Adding a grommet to a tarp takes about 90 seconds once you have a matched die, a 2 lb hammer, and a solid backing block, but the grommet will only perform as well as the fabric holding it. If the edge distance is under 20 mm, the hole is ragged, or the tarp is a degraded PE film, the grommet will tear out under load no matter how carefully you set it. This guide covers the actual method we use for tie-down points, the sizing rules, and the repair steps that prevent the same failure from repeating.
Add grommets when the tarp fabric is still strong but the hardware is missing, worn, or positioned for a different job. Scenarios we see in practice: you bought a plain tarp for trailer covering and need extra tie-down points every 50 cm; the original corner grommets were already torn out by wind; or you want to lace a shade panel between poles and need a clean row of holes along the top and bottom edges.
Do not add grommets to a tarp that shows widespread UV cracking, pinholes, or delamination. Setting a metal ring into weakened fabric concentrates stress, and the first strong pull will open a bigger hole than the one you started with. For permanent outdoor use, a knife-scraped PVC tarpaulin holds grommets several times better than a film tarpaulin because the laminated weave anchors the coating and resists tear propagation around the hole. If you are deciding between repair and replacement, run a quick test: punch a 5 mm hole in an unused corner and try to tear the fabric along the punched line. If it rips easily, the tarp should be replaced, not re-grommeted.
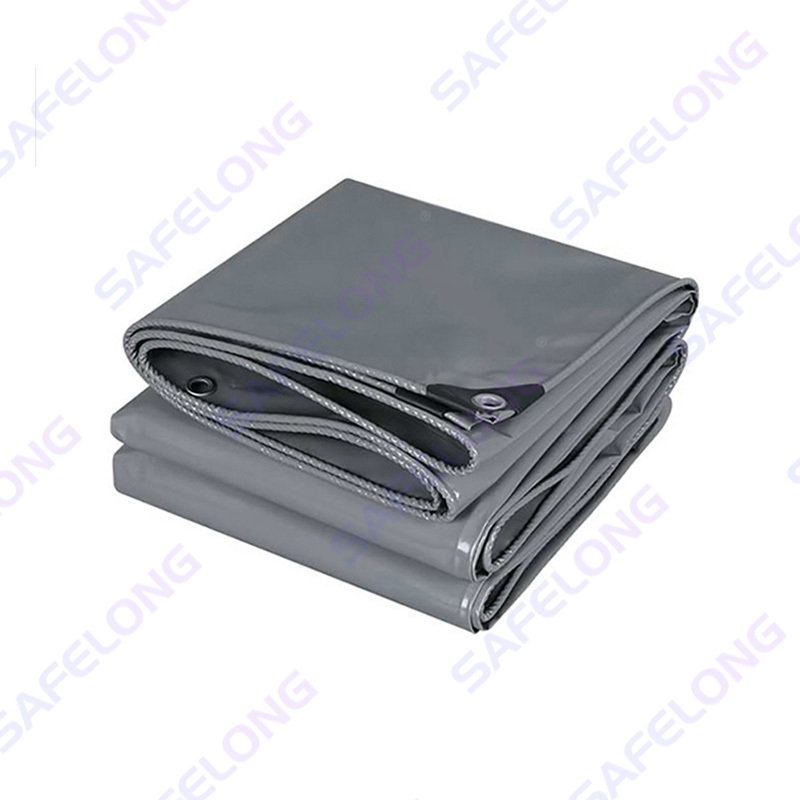 Knife-scraped tarpaulinThe knife-scraped tarpaulin cover adopts a multi-layer scraping process to scrape the PVC paste layer by layer on the surface of the high-strength base fabric, and the...View Product →
When the base material is healthy, the job becomes straightforward. Our introduction to PVC tarpaulin covers explains the difference between film, laminate, and knife-scraped constructions, which helps you match the repair approach to the material you are working on.
For most tarpaulins, the right choice is a brass grommet in size #2, which has a 19 mm (3/4 inch) inner hole and an outer diameter of about 25 mm (1 inch). It fits two to three layers of 650 g/m² PVC fabric comfortably, withstands repeated rope tension, and is available in every grommet kit. Heavier 900 g/m² PVC tarpaulins usually work better with a #3, while light shade cloth or netting only needs a #1. A note on naming: a grommet is a two-part assembly with a barrel and a washer, while an eyelet is a one-piece rolled tube. For a tarp that will carry load, use a real two-part grommet rather than an eyelet.
| Size | Inner diameter | Outer diameter | Typical use |
|---|---|---|---|
| #0 | 9.5 mm (3/8 in) | 15.9 mm (5/8 in) | Dust covers, soft bags |
| #1 | 12.7 mm (1/2 in) | 19.0 mm (3/4 in) | Light garden tarps, tents |
| #2 | 19.0 mm (3/4 in) | 25.4 mm (1 in) | Standard heavy PVC tarp |
| #3 | 22.2 mm (7/8 in) | 27.0 mm (1 1/16 in) | Extra-heavy vinyl, truck curtains |
| #4 | 25.4 mm (1 in) | 31.8 mm (1 1/4 in) | Industrial covers, heavy lacing |
Brass is our default recommendation for outdoor PVC tarpaulins. It does not rust, it deforms smoothly when struck, and it keeps its clamping force in cold weather down to roughly -30 °C. Zinc-alloy grommets cost less but can crack if you over-hammer them in freezing temperatures. Stainless steel is the strongest option for marine environments, but it work-hardens quickly and needs a precisely aligned die. Plastic grommets are fine for temporary screens or mesh; they should never carry load-bearing tie-downs on a large tarp.
The single most common cause of bad grommets is a mismatched die. A grommet kit contains a hole cutter, the base anvil, and the setting punch, all sized for a specific grommet series. If you buy loose grommets and try to use a die from another brand, the barrel will not roll evenly and the edge will pull away from the washer. Use the complete matched kit for the grommet model you selected.
If you only need one or two grommets, a plier-style grommet tool works, but the dies are usually limited to #1 and #2 sizes and require enough hand strength to close the jaws evenly.
Lay the tarp flat and measure all grommet positions in the same direction so the line stays straight. Keep a minimum edge distance of 25 mm for sizes #0 to #2 and 40 mm for #3 and #4. Corners are marked at equal distances from both edges, for example 50 mm from each edge, so the corner grommet does not turn into a stress point in a different axis.
Place the tarp on the wooden backing block, align the hole cutter over the mark, and strike the punch with one firm blow. Rotate the cutter 90 degrees and strike again so the blade shears the fabric on both fibre directions. A clean round hole is essential: a jagged hole allows the cut threads to pull out of the washer grip during tension. If you use a drill instead, select a bit about 1 mm smaller than the barrel's outer diameter and back the fabric with a sacrificial board. Trim any frayed yarns with scissors before continuing.
The barrel, which is the male half, goes through the fabric from the top side. The washer, which is the female half, sits underneath. Check that no fabric folds are trapped between the two halves; the tarp edges must lie flat and stay centred around the barrel.
Place the whole assembly on the anvil base. Insert the setting punch into the barrel so it rests inside the washer groove. Strike the punch two to four times with controlled force, rotating the punch slightly between blows. The barrel should curl outward into the washer groove along the full 360-degree circle. If the roll is flat on one side or the washer tilts, remove the grommet and start again with a fresh part.
Pull the grommet by hand first, then hook a rope or spring scale to it and apply a steady pull. In our production checks, a correctly set brass #2 grommet in a 650 g/m² knife-scraped PVC tarp commonly holds more than 50 kgf (about 490 N) when the edge distance is at least 25 mm. If the grommet rotates or the fabric begins to deform around the hole before that level, the installation is not finished; check the hole size and the edge distance again.
There is no universal rule because the load depends on how the tarp is tied down, but the following values come from our workshop experience with PVC tarpaulins used on trucks, construction sites, and agricultural watering systems. Start from the corner and work along the edge; never measure from the centre of the tarp outward if the tarp is not perfectly square.
| Application | Spacing along edge | Edge distance |
|---|---|---|
| Truck and trailer covers | 45–60 cm | 30–50 mm |
| High-wind or highway use | 25–35 cm | 40–60 mm |
| Camping, shade, and vertical hang | 30–45 cm | 25–40 mm |
| Pooling-prone flat covers | 30 cm max, plus a central drain point | 40 mm |
| Light temporary screening | 60–90 cm | 25–30 mm |
A few practical notes: do not place grommets less than 15 cm apart, because the stress fields around adjacent holes overlap and reduce tear resistance. On a rectangular tarp, put corner grommets on both edges, about 50–75 mm from each edge, so ropes can pull diagonally without peeling open the corner seam. When the tarp will hold water, avoid grommets in the lowest areas; give the cover a fitted drain point instead of inviting leaks where you risk standing water.
The area that fails first in a grommet assembly is not the metal; it is the fabric directly under the washer. A standard #2 brass washer has a clamping area of roughly 220 mm², and spreading the tension over that surface is only useful if the fabric itself can handle the pressure. On a 650 g/m² knife-scraped PVC, neighbouring yarns share the load well. On a thin film tarp with little woven reinforcement, a single grommet can fail after a week of steady wind.
Fold the edge twice to create a double hem before setting grommets on light film tarpaulins. Fold 40–50 mm, then fold again over the first fold, and set the grommet through all layers. This triples the effective material thickness and adds frictional resistance between layers. For a more professional finish on heavy PVC tarps, heat-weld or chemically weld a patch of the same woven material, then set the grommet in the centre of the patch after the adhesive has cured according to the glue supplier's instructions.
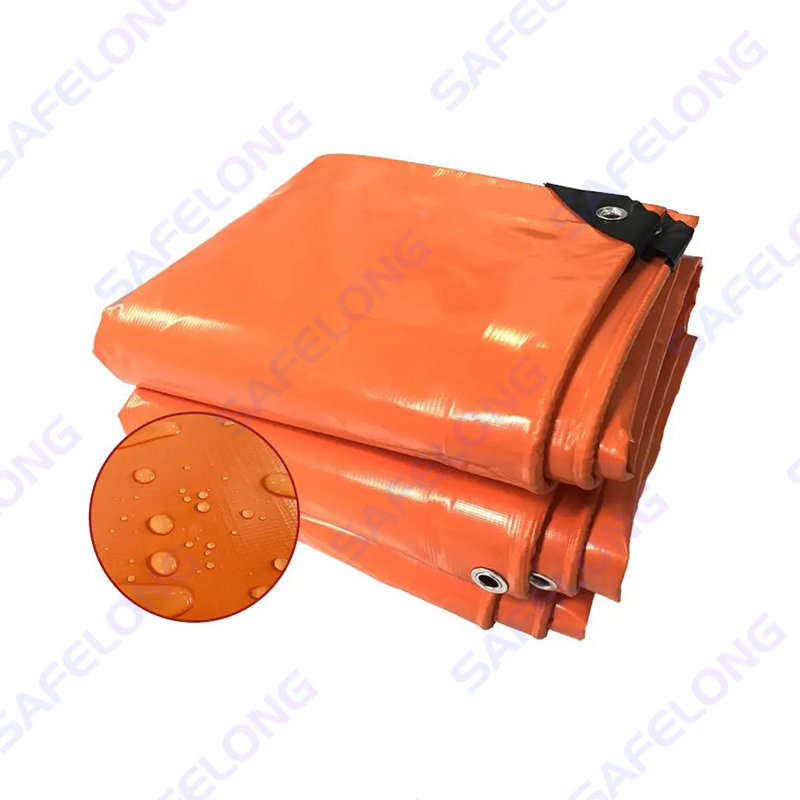 Film TarpaulinThe film tarpaulin cover is made by laminating PVC film to lightweight polyester base fabric through high-temperature calendering process to form a smooth waterproof l...View Product →
If you regularly work with thin film tarpaulins, our film tarpaulin range uses a calendered film construction that is easy to fold and weld at the edge; folding and reinforcing before grommeting is the difference between a cover that lasts one season and one that lasts several.
Never reposition the grommet in the same torn hole. The fabric around the damaged hole is already stretched and cut, and a new ring will fail in the same place under a lighter load. Repair the fabric first, then set the new grommet in the repaired area.
This repair sequence also applies to patterned and striped materials, including camouflage waterproof cloth used for hunting blinds, event screens, and fence panels; the patch-and-reset method works on any coated fabric where the coating and base weave are still bonded. If the tarp has multiple failed grommets and brittle edges, the most economical repair is replacement. Before ordering, compare the fabric specifications in our PVC tarpaulin product range so you can select a construction designed for repeated tie-down loads rather than one that needs constant re-grommeting.
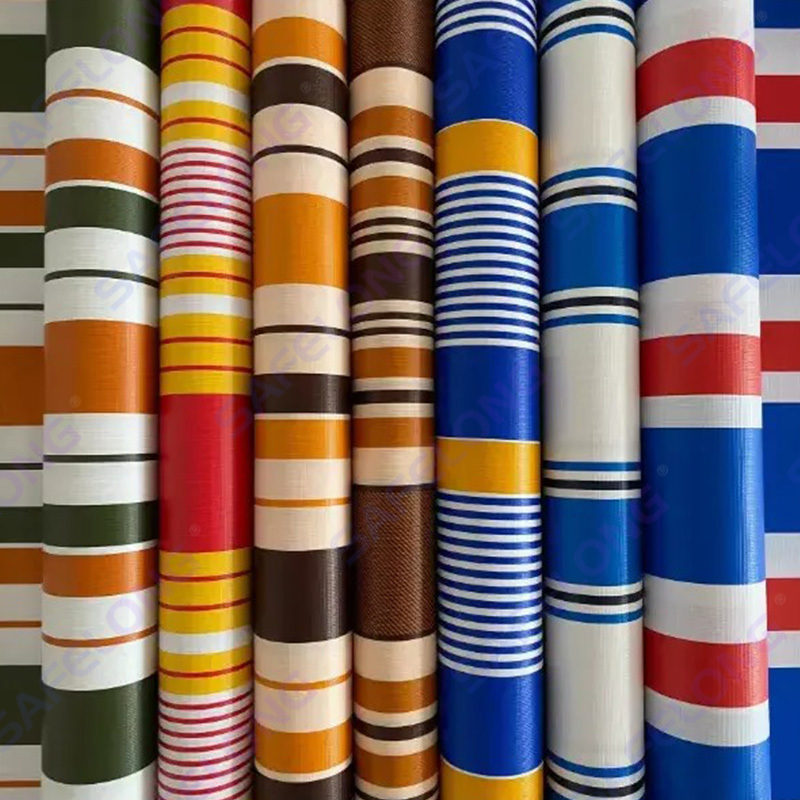 Camouflage Waterproof ClothPVC camouflage waterproof cloth is a multifunctional waterproof material with polyester Oxford cloth as the base material, double-sided PVC glue coating and printed di...View Product →
Yes, in an emergency you can cut a clean hole with a leather punch, place the barrel through the top and the washer underneath, and press the two halves together with a C-clamp or a bolt with two flat washers and a nut. Work slowly and check that the barrel rolls evenly. A matched die set gives far more consistent results, especially when you are installing more than a few grommets.
For a standard 650 g/m² PVC tarpaulin, use a brass #2 grommet with a 19 mm inner diameter. For a heavier 900 g/m² PVC tarp or a tarp that will be laced very tightly, move up to #3. Sizes below #1 are best reserved for light shade cloth and bags rather than load-bearing tie-downs.
As a rule, the centre of the grommet should be at least 1.5 times the grommet's outer diameter from the edge. For a #2 grommet, that is roughly 25 mm minimum. When you expect strong tension along the edge, keep 40 mm or more. Corner grommets should be at equal distance from both edges.
Start with four corner grommets, then add grommets every 45–60 cm along each side. A 2 x 3 m tarp ends up with roughly 12 to 16 grommets: four corners, six to eight along the long sides, and two to four along the short sides. High-wind installations should use denser spacing and a rope along the entire perimeter.
Yes, the process is identical as long as the coated fabric is still in good condition. For a camouflage waterproof cloth that will be lashed to a frame, use a #2 brass grommet, keep the edge distance at 40 mm, and make sure the patch or hem is welded before setting the ring. The same applies to striped PVC tarps and privacy fence tapes that need tie-down points along the top edge.
Camouflage Waterproof ClothPVC camouflage waterproof cloth is a multifunctional waterproof material with polyester Oxford cloth as the base material, double-sided PVC glue coating and printed di...View Product →
A properly set grommet creates a compression seal at the barrel-washer joint, but the hole itself is still a possible water path over time. If you need a water-tight cover, avoid placing grommets in areas where water pools. Seal the top of the grommet with a thin layer of outdoor silicone or cover the entire grommet with a welded patch if absolute water-tightness is required.
Open the curled roll with a small flat-tip screwdriver, then snip the barrel with tin snips and bend the two halves apart. If the tarp is a heavy PVC, heating the metal ring with a hair dryer to around 60 °C softens the coating and reduces the chance of tearing the fabric while you pry. Choose a new position or patch the old hole before setting a fresh grommet.
The short version: adding a grommet to a tarp is quick once you have a matched kit, but the long-term result depends on three factors: edge distance, hole quality, and the condition of the fabric. Measure the positions, punch a clean hole, load the matched halves, set the barrel with controlled strikes, and pull-test before the tarp goes into hard service. That same sequence applies whether you are adding one grommet for a boat cover or installing a full row of tie-downs on a new PVC tarpaulin, and following it prevents the most common reason customers contact us: a ring that pulled out after the first windy night.
If you have any questions, please fill out the contact form at the bottom of the page and contact us.
You agree to Sulong Terms and Privacy Policy.

No.9 Filter Material Industry Park, Funing, China (Factory)
Unit 2, 15#-405, Kuanglu Community, Gulou District, Nanjing, China (Office)

+86 15724842588

+86-0515-68589566

+86-0515-68589566

info@safelong.net

